
To gain fully authorized access to internal resources in the network of the University of Applied Sciences from an external location, one can connect to the university’s network via a VPN tunnel.
If you only need the VPN for access to the university’s network, please use the FortiClient.
Basics #
In order to obtain fully authorized access from EXTERN to the internal resources in the network of the Applied,
can be integrated into the network of the Applied via a VPN tunnel.
How can I use the VPN? (Installation and operation) #
CISCO SSL VPN Client (AnyConnect)
The current client can be installed directly via the web portal vpn.uni-ak.ac.at. (Validation with a valid UNIAK account – for employees: p number, students: s matriculation number). Available for the following platforms: Windows (32-bit and 64-bit), Linux, Mac OS X.
The AnyConnect client requires the VPN server name vpn.uni-ak.ac.at, as well as the account name and password. The UserID is the personal number for employees and the matriculation number for students.
After logging in, you can choose between three profiles:
- UNI-AK: The whole data traffic is routed through the VPN tunnel
- UNI-AK (Split-Tunneling): Only the data traffic to the applied person is routed through the VPN tunnel
- ZID_UNI-AK: VPN Access for ZID Employees
All other configuration settings and client updates are automatically obtained from the VPN server vpn.uni-ak.ac.at.
Windows #
Installation #
Go to vpn.uni-ak.ac.at and enter your account name (p- / s- number) along with the corresponding password. Then click on “Login”.
Under “Group:”, select the desired VPN connection type:
- UNI-AK: All data traffic is routed through the VPN tunnel
- UNI-AK (Split-Tunneling): Only the data traffic to and from internal university resources is routed through the VPN tunnel
- ZID_UNI-AK: VPN access for ZID employees

After logging in, the following window appears:

Click on “Download for Windows” to download the file. After the download is complete, double-click on the AnyConnect installation file.
The setup wizard should now open and should look something like this:
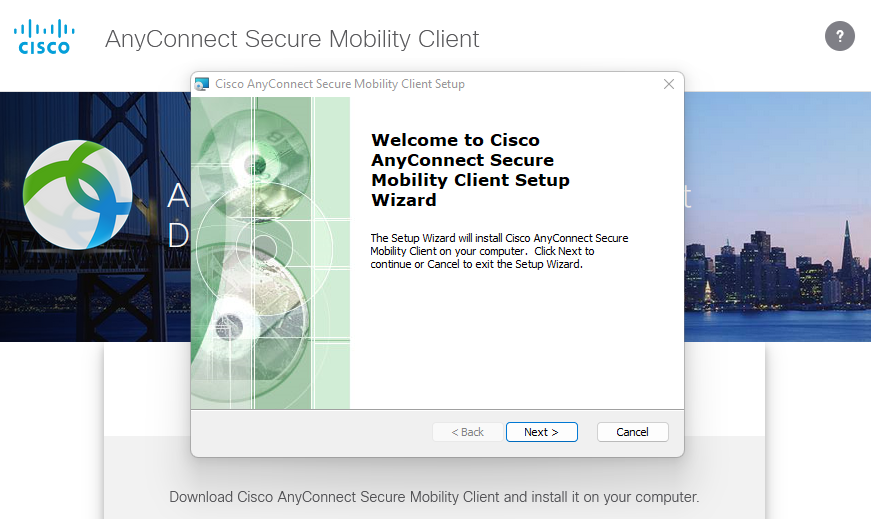
Now follow the instructions of the setup wizard to complete the installation.
If you are trying to install AnyConnect on one of our devices, the admin password will be required at this point. Please contact us for assistance from Monday to Friday between 8 AM and 4 PM at extension 2107 or +43 1 71133 2107, or at any time via email to the Helpdesk.
Setup/How to use #
After the initial installation, the AnyConnect client will start automatically.
Once you restart your PC or close AnyConnect, you can find and reopen AnyConnect via the Windows search or through the system tray (the arrow on the bottom right of the taskbar, to the left of the clock).

A new window will now open. Enter “vpn.uni-ak.ac.at” in the field under “Ready to connect”.
Note: SAP users should enter the BRZ address (usap.brz.gv.at/ldap) here.

Next, enter your account name (p-number for employees, s-number for students) and your password.

Upon a successful login, the following window will be displayed:

To disconnect, right-click on the AnyConnect icon in the bottom right of the taskbar and select “VPN disconnect”.
To exit AnyConnect, select “Quit”.

Mac #
Installation #
Open the page vpn.uni-ak.ac.at, enter your account name (for employees: p-number, for students: s-matriculation number) and your password, then click “Login”.

After a successful login, your system will be analyzed, and the compatible version of Cisco VPN will be displayed.
Click on “Download for macOS” to start the download.

You may need to grant permission to proceed.

The download will then begin.
Afterwards, go to the “Downloads” folder and start the installation by double-clicking on the downloaded file.

The installation will now start. Follow the instructions provided by the installation wizard.

After a successful installation, you need to start the program “Cisco AnyConnect Secure Mobility Client”. You can search for “Cisco” using Spotlight or open the program from Finder (Applications – Cisco).

Setup/How to use #
In the menu bar, a white circular icon will be displayed. Click on this icon and then select “Connect”. If the icon is not visible, open the Applications folder as described above and search for “Cisco”.

A small window will now open. Enter “vpn.uni-ak.ac.at” and click “Connect”.
Note: SAP users should enter the BRZ address (usap.brz.gv.at/ldap) here.

Select the desired behavior under “Group”:
- Uni-AK: All traffic is routed through the VPN tunnel
- Uni-AK (Split-Tunneling): Only traffic to and from the university is routed through the VPN tunnel
- ZID_Uni-AK: VPN access for ZID staff
Log in with your account name (for employees: p-number, for students: s-matriculation number) and your password.

After a successful connection, the following message will always be displayed, and the icon in the menu bar will also display a lock symbol.

You are now connected to the university’s VPN.
To end the connection, click on the Cisco AnyConnect Client icon.
- Disconnect – this will disconnect the VPN connection, but the AnyConnect Client will continue to run
- Quit – this will disconnect the VPN connection and quit the Cisco AnyConnect Client

iOS #
Installation #
Open the App Store on your iOS device and search for “Cisco Secure Client”.

Download the app and wait until Cisco AnyConnect is installed.
Now open the app. On the first launch, you will receive a prompt; confirm it by selecting “Allow”.

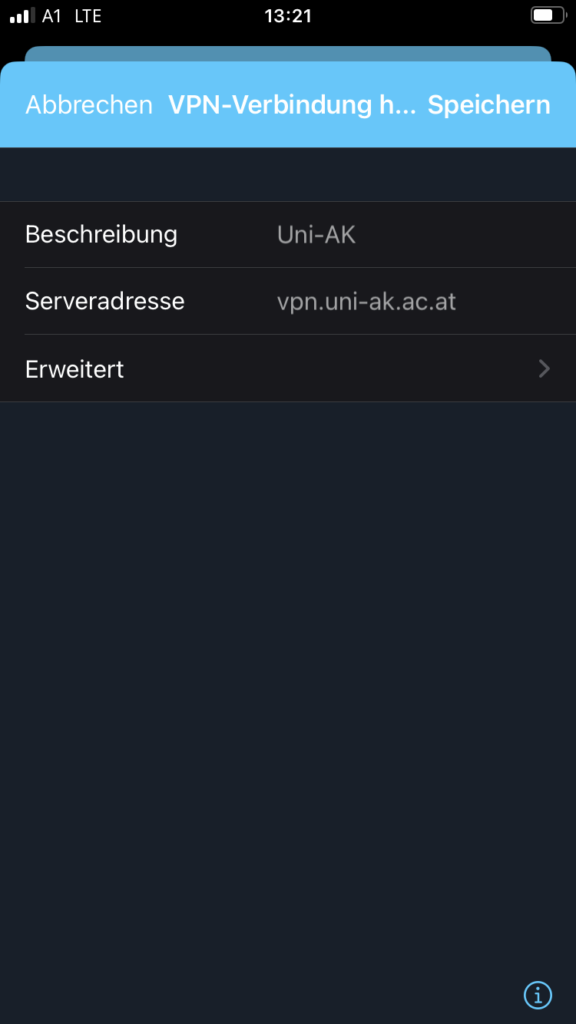
Now select “Add VPN Connection”.

Give the connection a name (description), such as “Uni-AK”.
For the server address, enter “vpn.uni-ak.ac.at”.
If you have entered the data correctly, tap “Save” at the top.
Setup/How to use #
Select the VPN connection at the bottom.
To activate the connection, toggle the switch for “AnyConnect VPN” at the top.
You will now need to authenticate. Log in with your account name (for employees: p-number, for students: s-matriculation number) and your password.
Then tap “Connect”.

You can now close the Cisco AnyConnect app while remaining connected to the VPN.
You can recognize this by the VPN icon in the status bar.

To disconnect the VPN, reopen the Cisco AnyConnect app and toggle the switch. The VPN icon in the status bar will disappear.
