
In the following manual you will find instructions on how to configure your uni-ak mail address in Outlook.
Windows #
Adding first mail account to Outlook #
First of all, open the control panel which you can find by typing “Control Panel” in the Windows search bar.

Once you’ve accessed the control panel, type “Mail” into the search bar at the top right. Then, click on the “Mail” option from the menu.

When setting up the first account, the following window should appear. Here, you need to create a mail profile first. To do this, click on “Add”.

Now, enter “Outlook” as a Profile Name and then click “OK”.

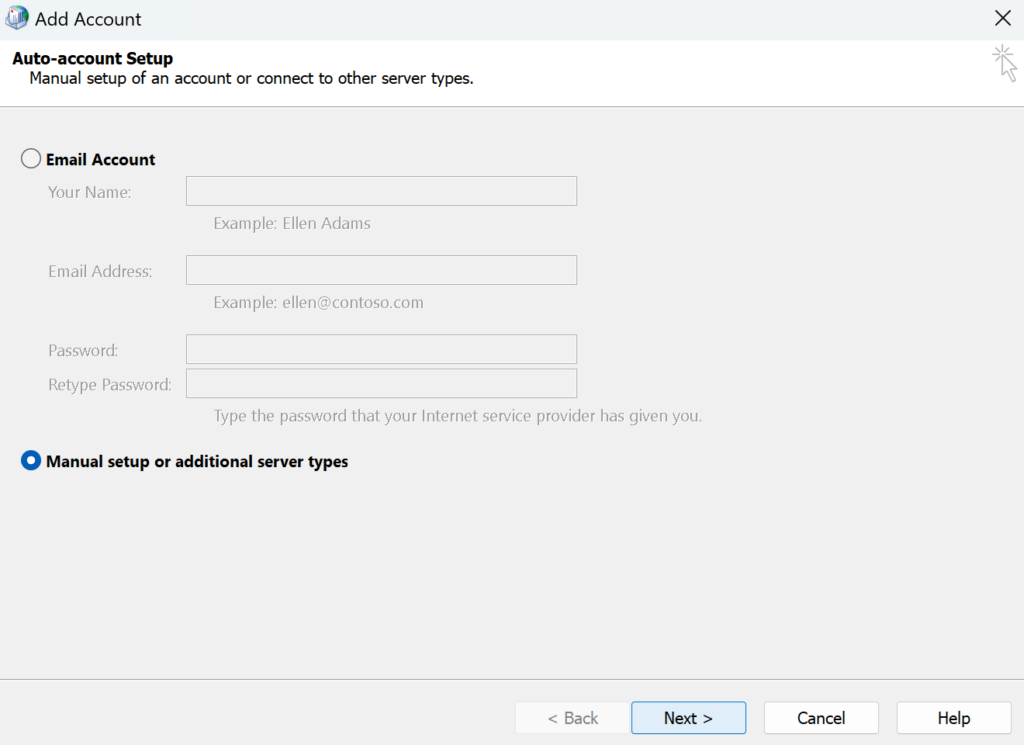
You should now see the following window. Select “Manual setup or additional server types” here, and then click “Next >”.
Then, select “POP or IMAP” and click “Next >”.

Now you have to enter your data. You can apply the data from the picture below but consider that as a student you need to enter “@student.uni-ak.ac.at” and as an employee “@uni-ak.ac.at“. Enter your p-, s-, x-, u-, m- or b- number as your user name and your password below. Afterwards click on “More Settings…”.

Go to the last tab „Advanced“ and set the drop-down lists to „SSL/TLS“. Enter the port number 465 for the outgoing server and 993 for the incoming server.

Now, select the middle tab “Outgoing Server” and check the box next to “My outgoing server (SMTP) requires authentication”.

Click „OK“.
Close the previous window by clicking „Next >“. After closing the window the settings are being tested.
If you encounter a connection error at this stage, please verify your login credentials.
Now the configuration is completed and you can click „Finish“.
Adding another mail account to Outlook #
If you’ve already set up an account in Outlook and you’re adding another account, then also go to the “Control Panel” and search for “Mail“.

If an account has already been added, the following window will open. Click on “Email Accounts…” here.

Then, select “Email” and click on “New…”.

Now continue your setup as shown in the guide above. Starting from screenshot number five.
Mac OS #
The following guide explains how to configure Outlook for Mac.
When you open Outlook for the first time, the start wizard appears automatically to help you configure your e-mail account. Enter your university email address and click “Next“.

In the next window you have to enter your user data. Please note that you must enter “@student.uni-ak.ac.at” as a student and “@uni-ak.ac.at” as an employee. Enter your p-, s-, x-, u-, m- or b- number as the username and your password below.
Please also make sure that the incoming and outgoing mail servers are set up as shown in the screenshot.

Click on “Add Account“.
Then you have the choice to add another account or to complete the setup with a click on “Done”.

To set up an account without the start wizard, click on “Tools” and then on “Accounts …“

In the new window you will now see the data of your existing account. To add a new account you have to click on the “+” symbol at the bottom left and then on “New account …“

You can then set up another account as at the beginning of this guide.